AI Agent Life, from Zero · part 4
[Agent 101 #4] How to install Hermes Agent Desktop: your first AI assistant, no terminal
❯ cat --toc
- The short version: three posts of theory, now we boot it up
- Before you start: two things you need
- Step 1: Download Hermes Desktop
- Step 2: Install — it sets itself up
- Step 3: Connect the brain — sign in with ChatGPT
- Step 4: Send your first message
- One important tip: get chat solid before adding features
- Next: talk to it from your phone
TL;DR
This is the hands-on one. The flow is short: download the Hermes desktop app → open it once and let it install everything itself → sign in with your ChatGPT account as the brain → start chatting. No terminal, no config files, and in about 15 minutes you have your own AI assistant running on your own computer. This post walks the whole thing; later posts give it internet access, hook it to your phone, and let it run tasks on its own.
The short version: three posts of theory, now we boot it up
The first three posts covered the ideas — how an assistant differs from a chat box, why you use an existing framework instead of wiring it yourself, and the combo we're using: a ChatGPT brain inside a Hermes body. The concepts are done. This post is where you actually install it and turn it on.
The good news: Hermes ships a desktop app, and the process is easier than you'd expect — about the same as installing any normal program. It handles the annoying part — all the dependencies — for you. You just need to download, double-click, and sign in with ChatGPT.
Follow along and you'll have your first assistant by the end.
Before you start: two things you need
From the previous post, you need two things on hand: your own computer, and a paid ChatGPT account. Grab both and let's go.
The whole thing is four steps: download → install → connect the brain → chat.
Step 1: Download Hermes Desktop
Get the installer from the official download page: hermes-agent.nousresearch.com/desktop (or grab it from the latest GitHub release).
- Mac: download the
.dmg - Windows: download the
.exe
Just pick the build for your OS.

Step 2: Install — it sets itself up
Double-click the file you just downloaded:
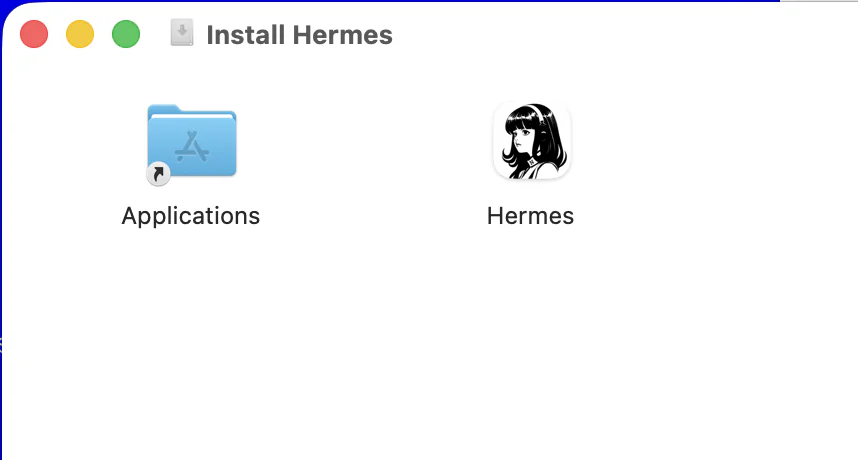
- Mac: open the
.dmgand drag Hermes into your Applications folder - Windows: run the
.exeand click through the installer
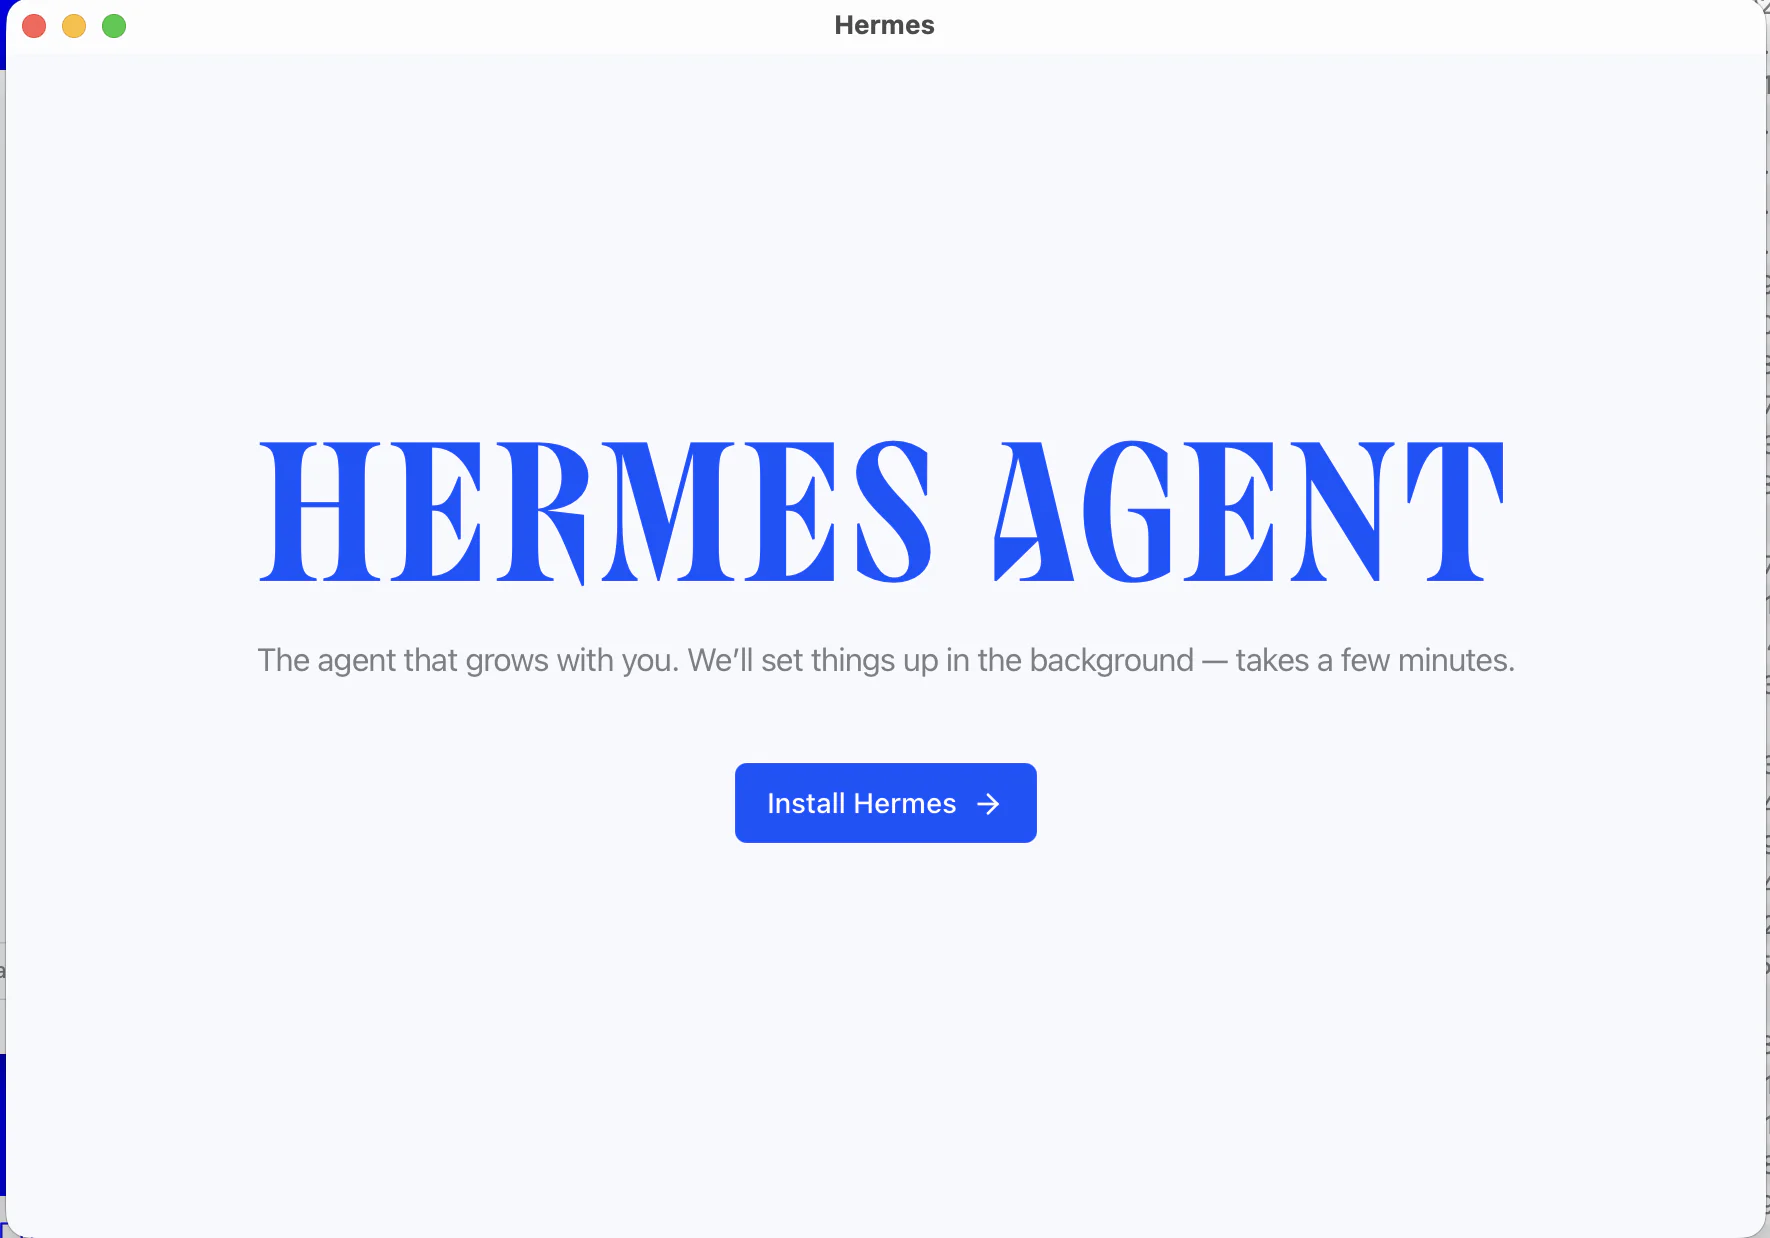
Open it and you'll get the Hermes welcome screen. Hit Install Hermes to begin:
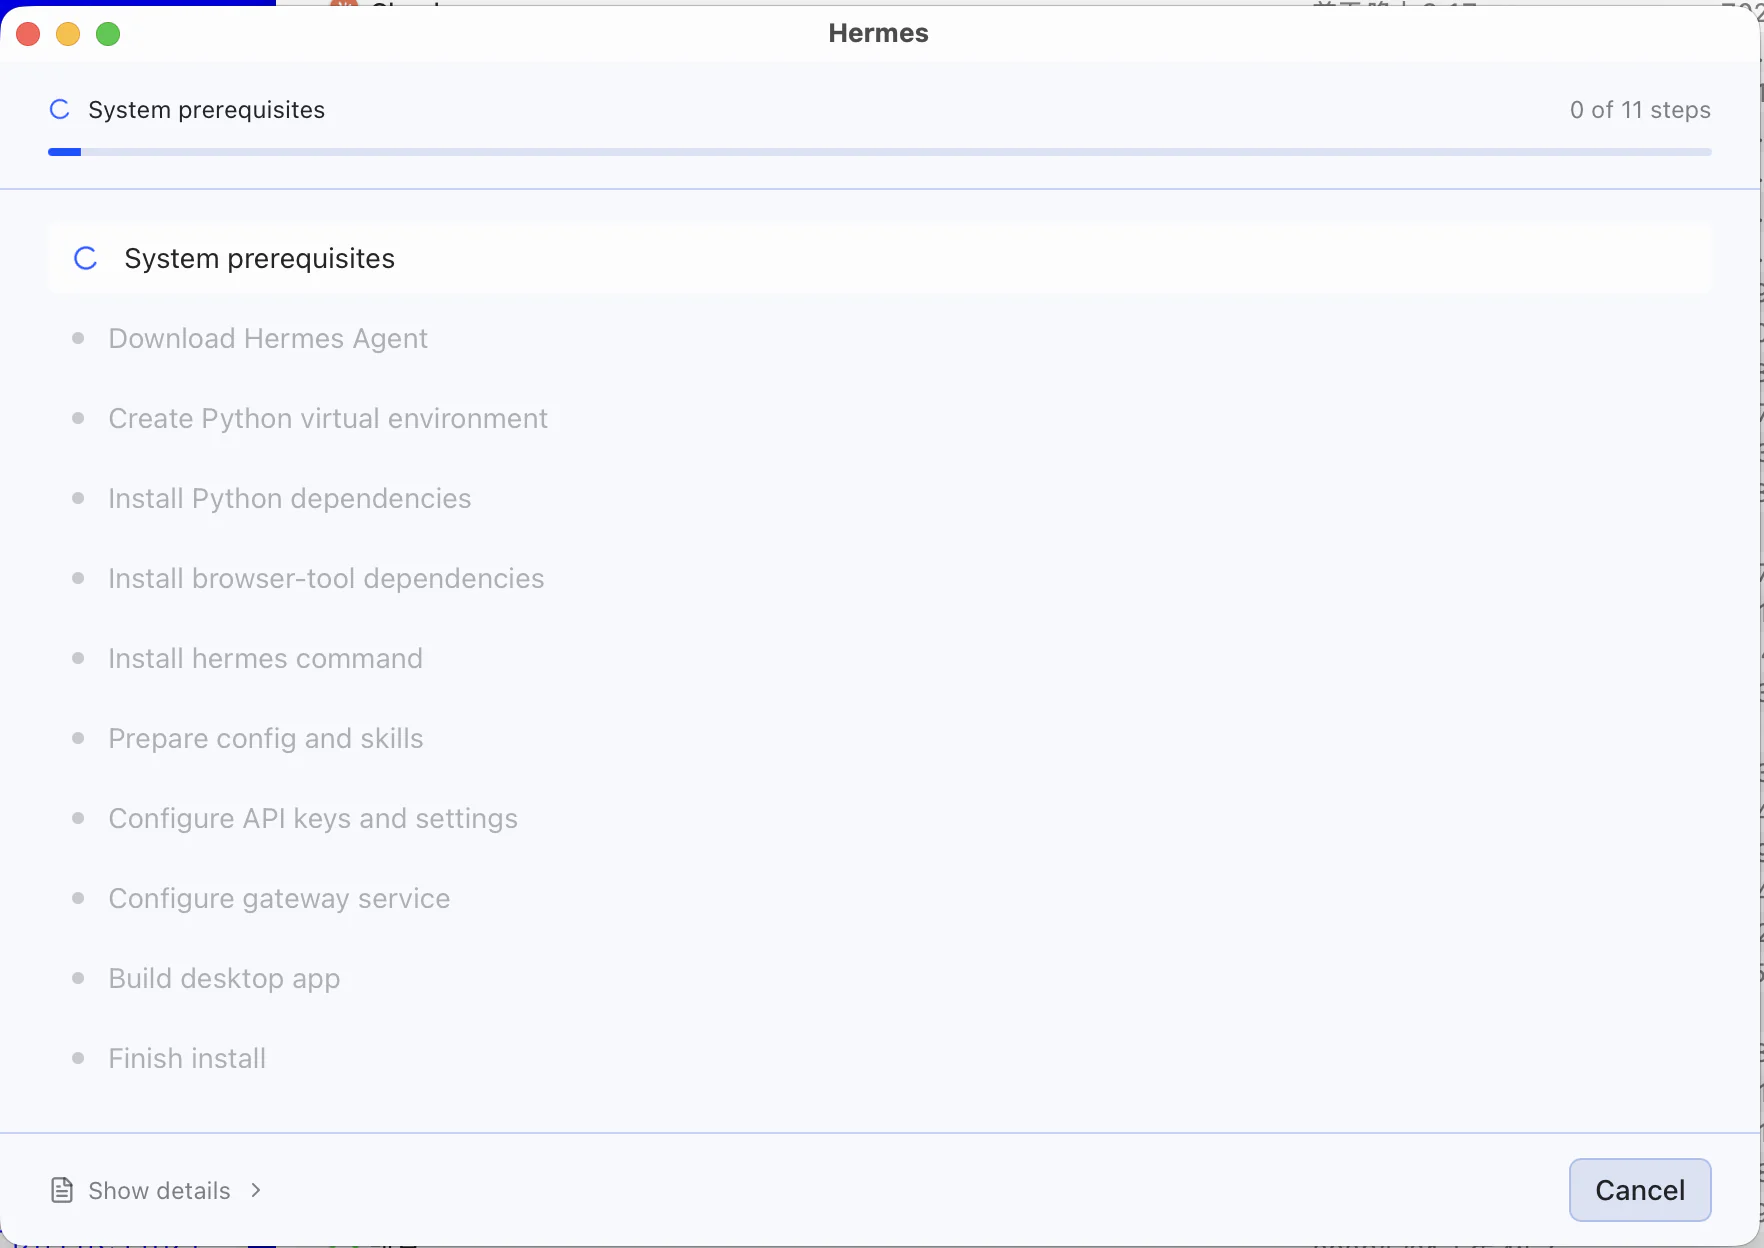
Here's the nicest part of the desktop app: it installs all the dependencies for you, step by step — Python, Node.js, Git, ffmpeg, things you may never have heard of — in roughly 11 automatic steps. You don't pre-install anything, and you never touch a terminal. Just watch the progress bar finish.
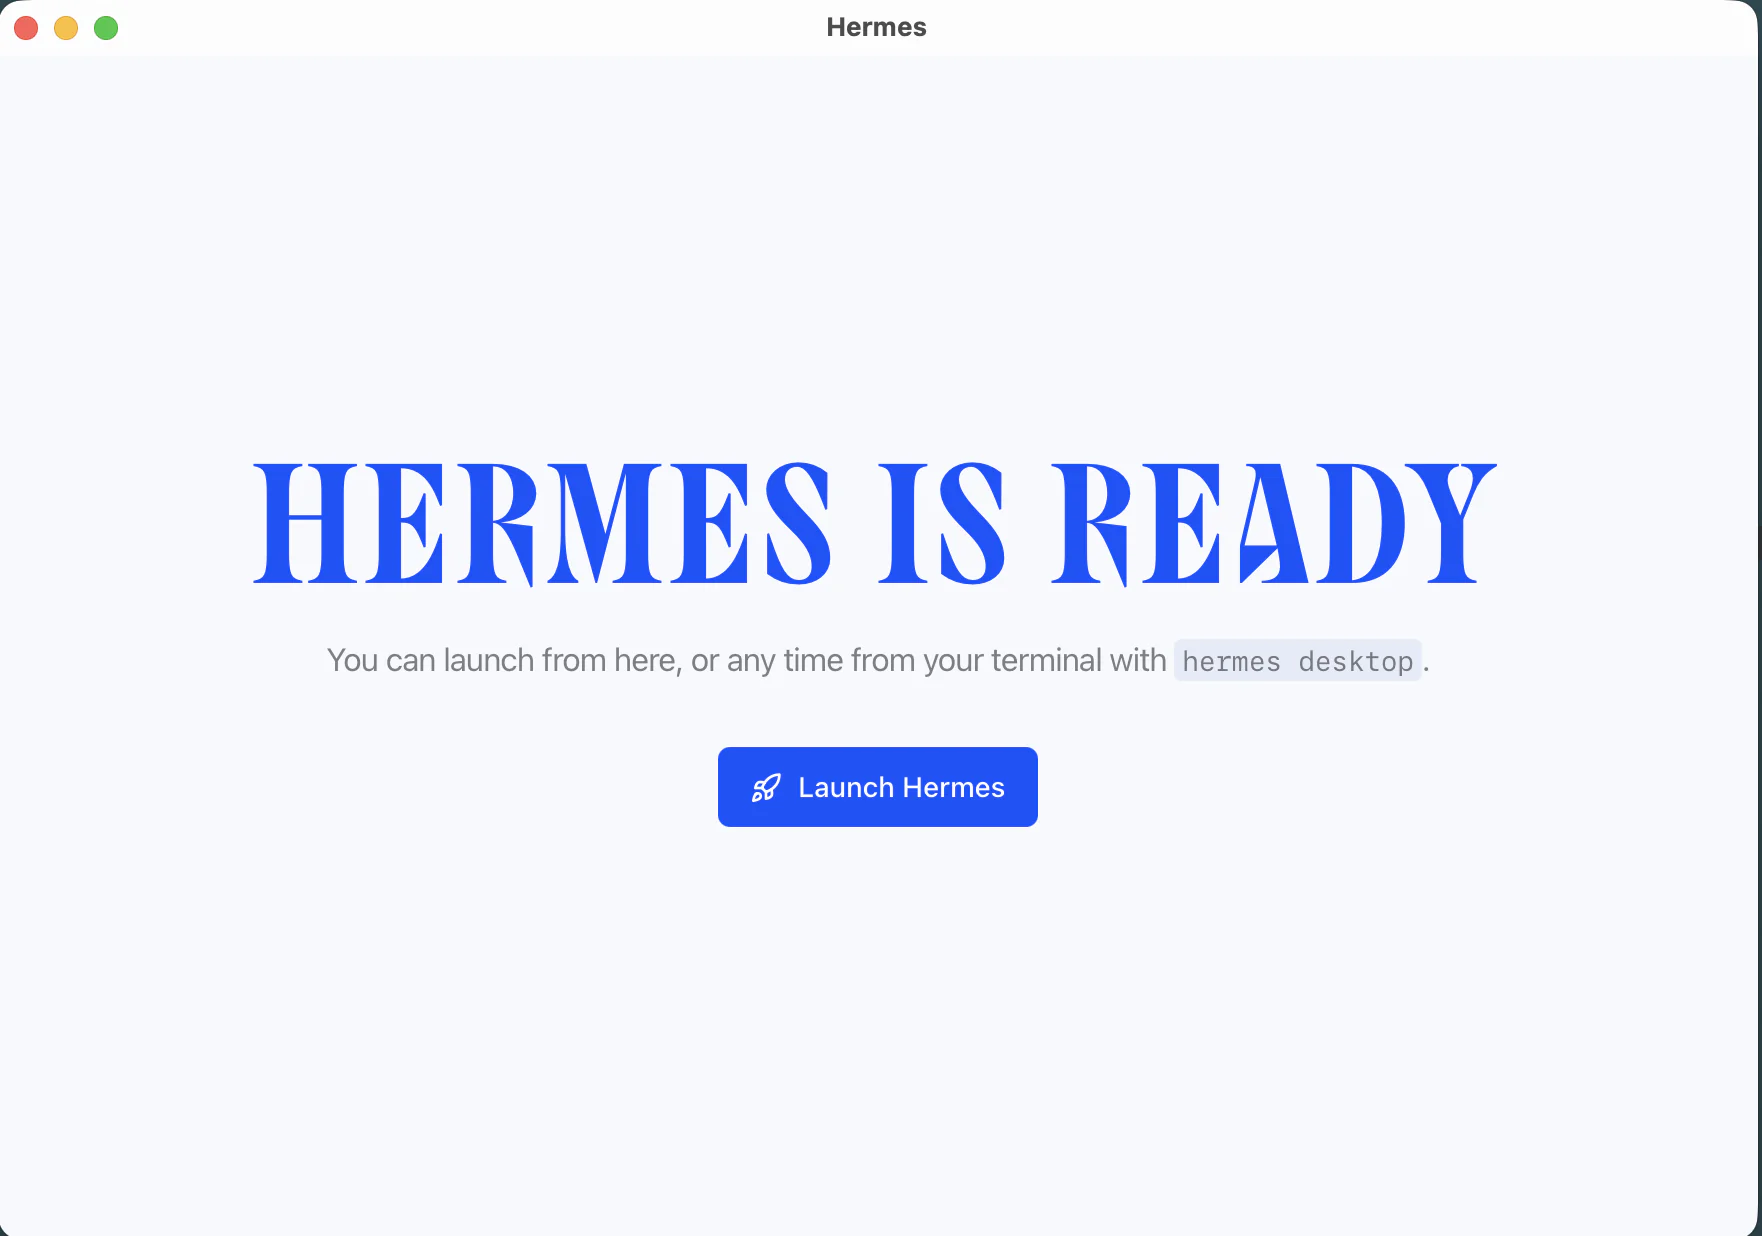
When it's done you'll see a big HERMES IS READY. Hit Launch Hermes:
It opens into a point-and-click setup wizard that walks you through the rest. No mystery config files to edit.
Step 3: Connect the brain — sign in with ChatGPT
The wizard asks which brain to use (the AI model that thinks for your assistant, from the last post). The screen defaults to recommending Nous Portal (Nous's own all-in-one service), but this series uses the ChatGPT you're already paying for, so don't pick that one:
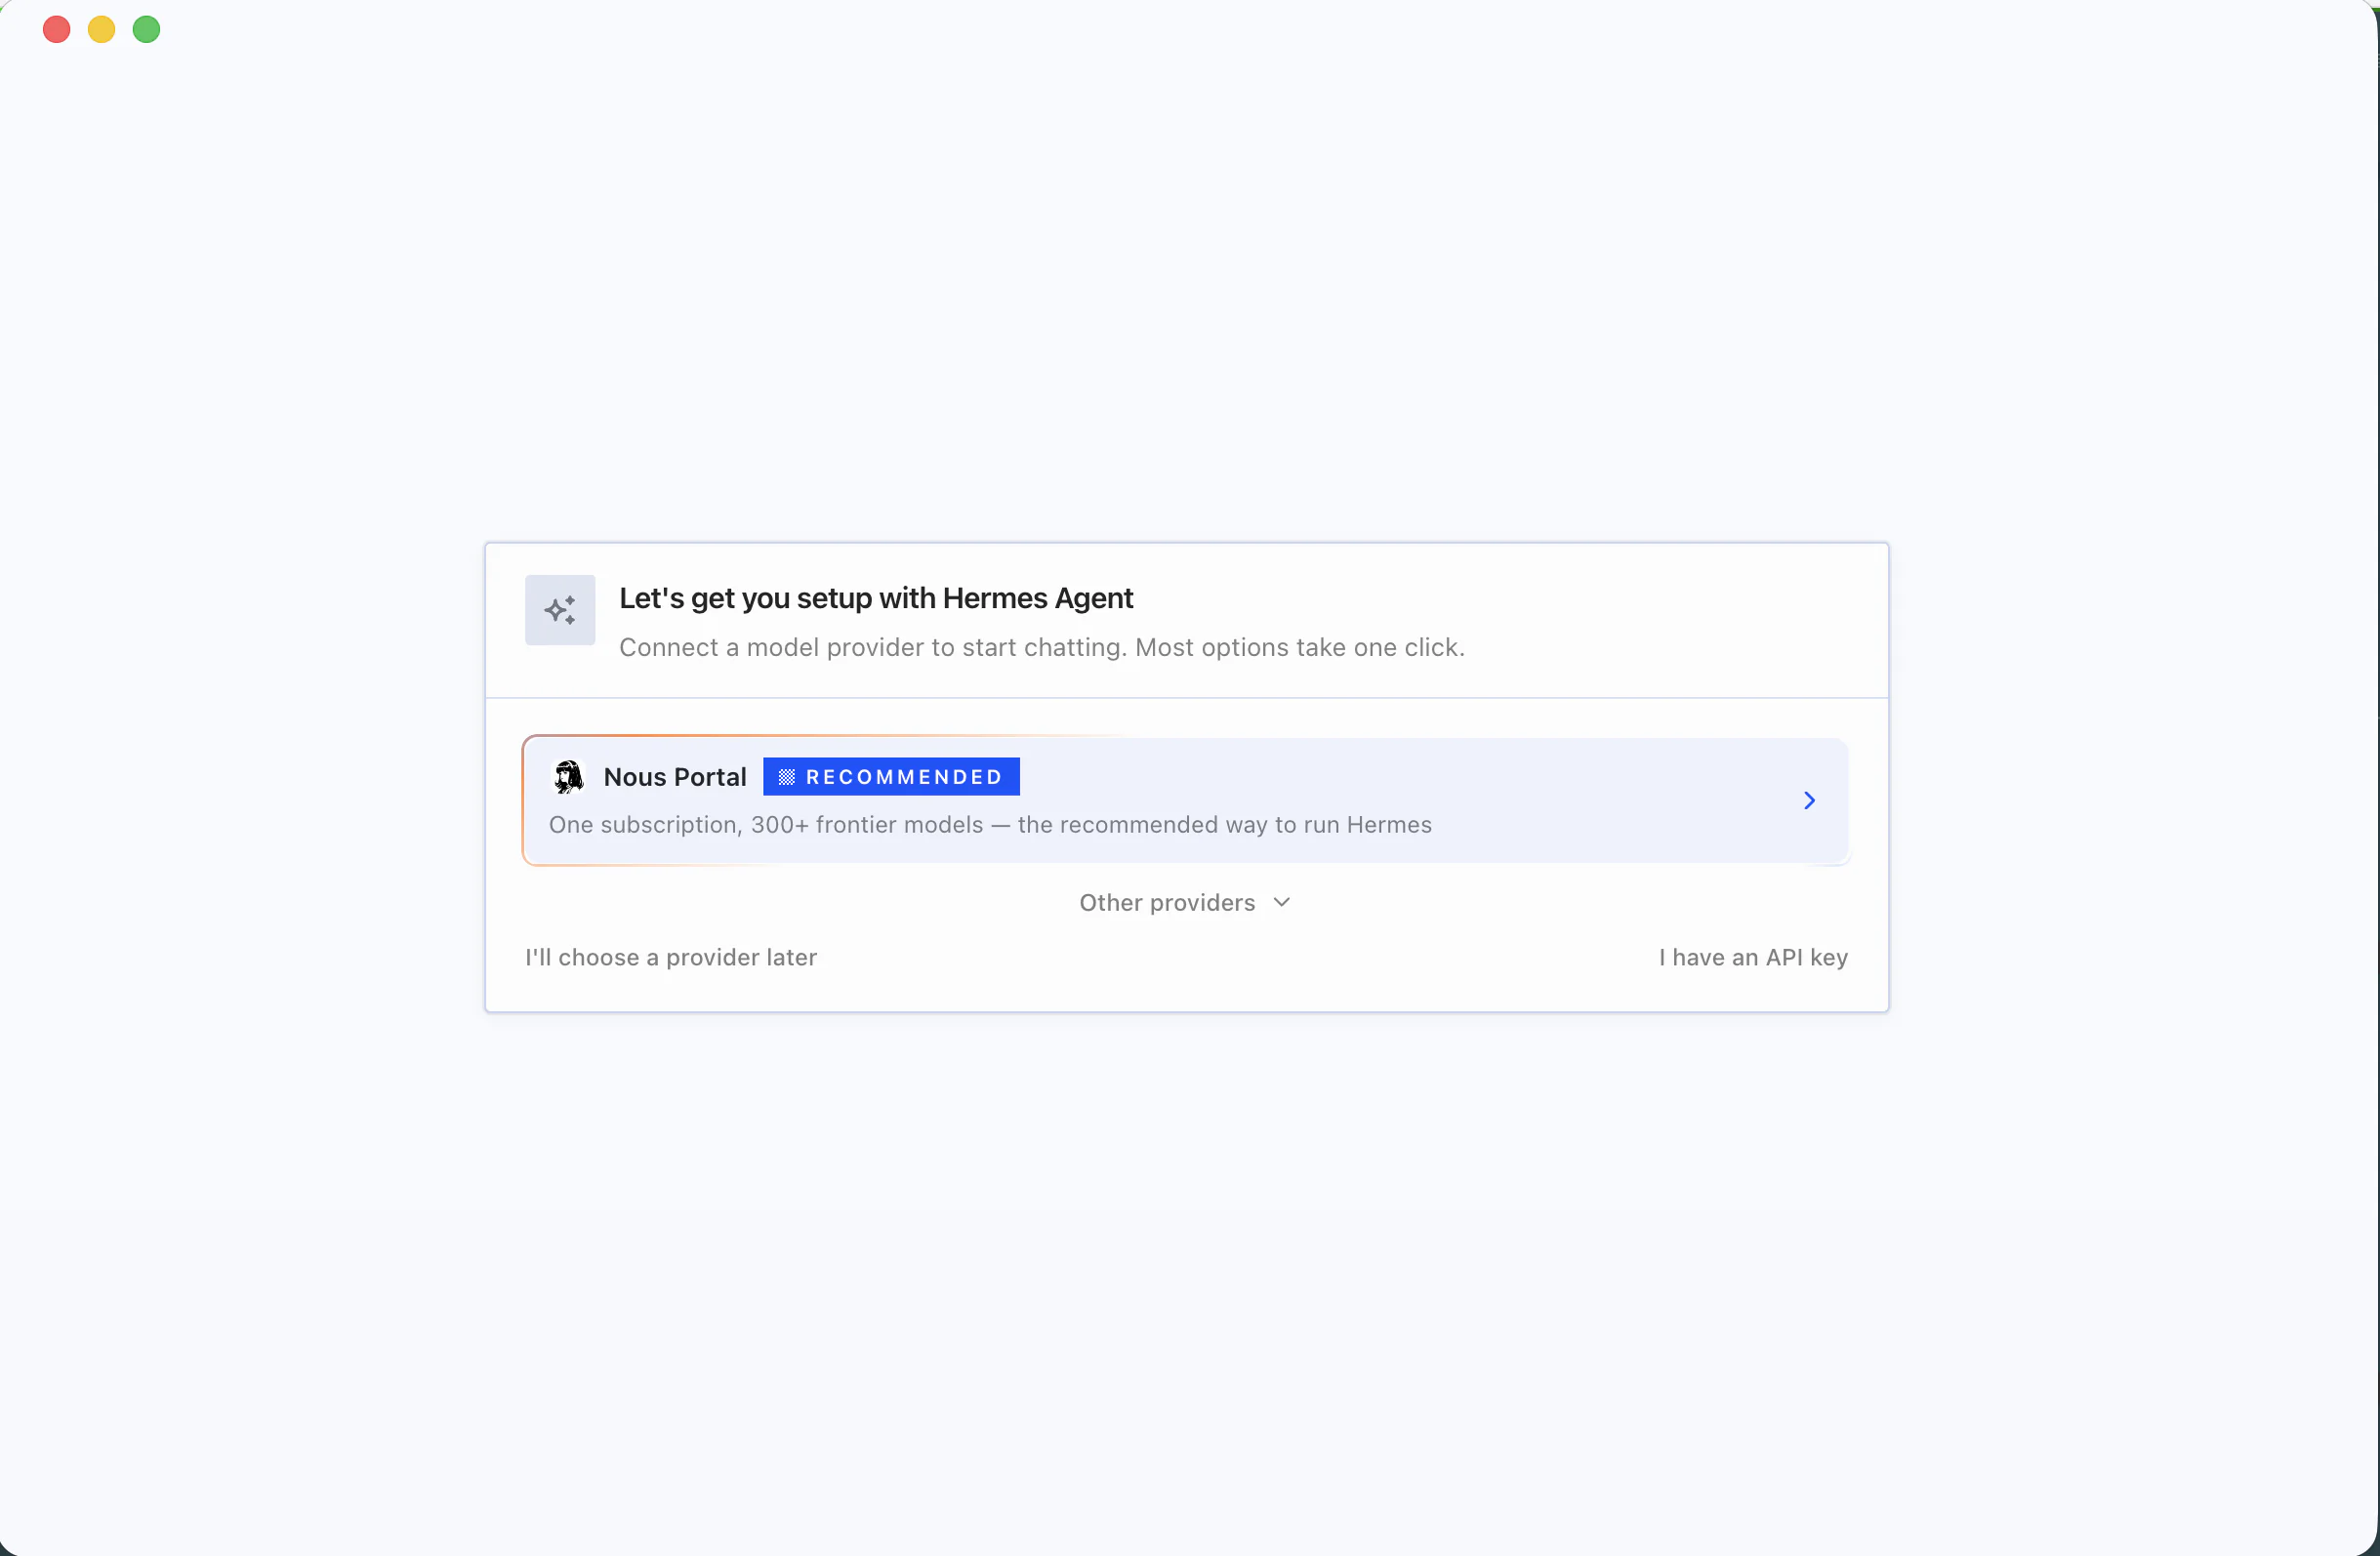
Expand "Other providers" at the bottom and choose "OpenAI OAuth (ChatGPT)".
The ChatGPT in the name is the tell — this option means "sign in with your ChatGPT account", and it's the officially supported way to use ChatGPT as the brain. (If an older guide you've seen calls it "OpenAI Codex", don't let it throw you — just pick the one that says OAuth / ChatGPT.)
Once you select it:
- A browser window opens and asks you to log in
- Sign in with your ChatGPT account and click authorize
- Done. The credentials are saved to
~/.hermes/auth.jsonon your own machine — you're not handing your password to anyone
(One heads-up: Nous's docs don't spell out exactly which ChatGPT plans are supported, so if your plan logs in but won't run, that's not a mistake on your end — it's a plan-support thing. Just double-check and move on.)
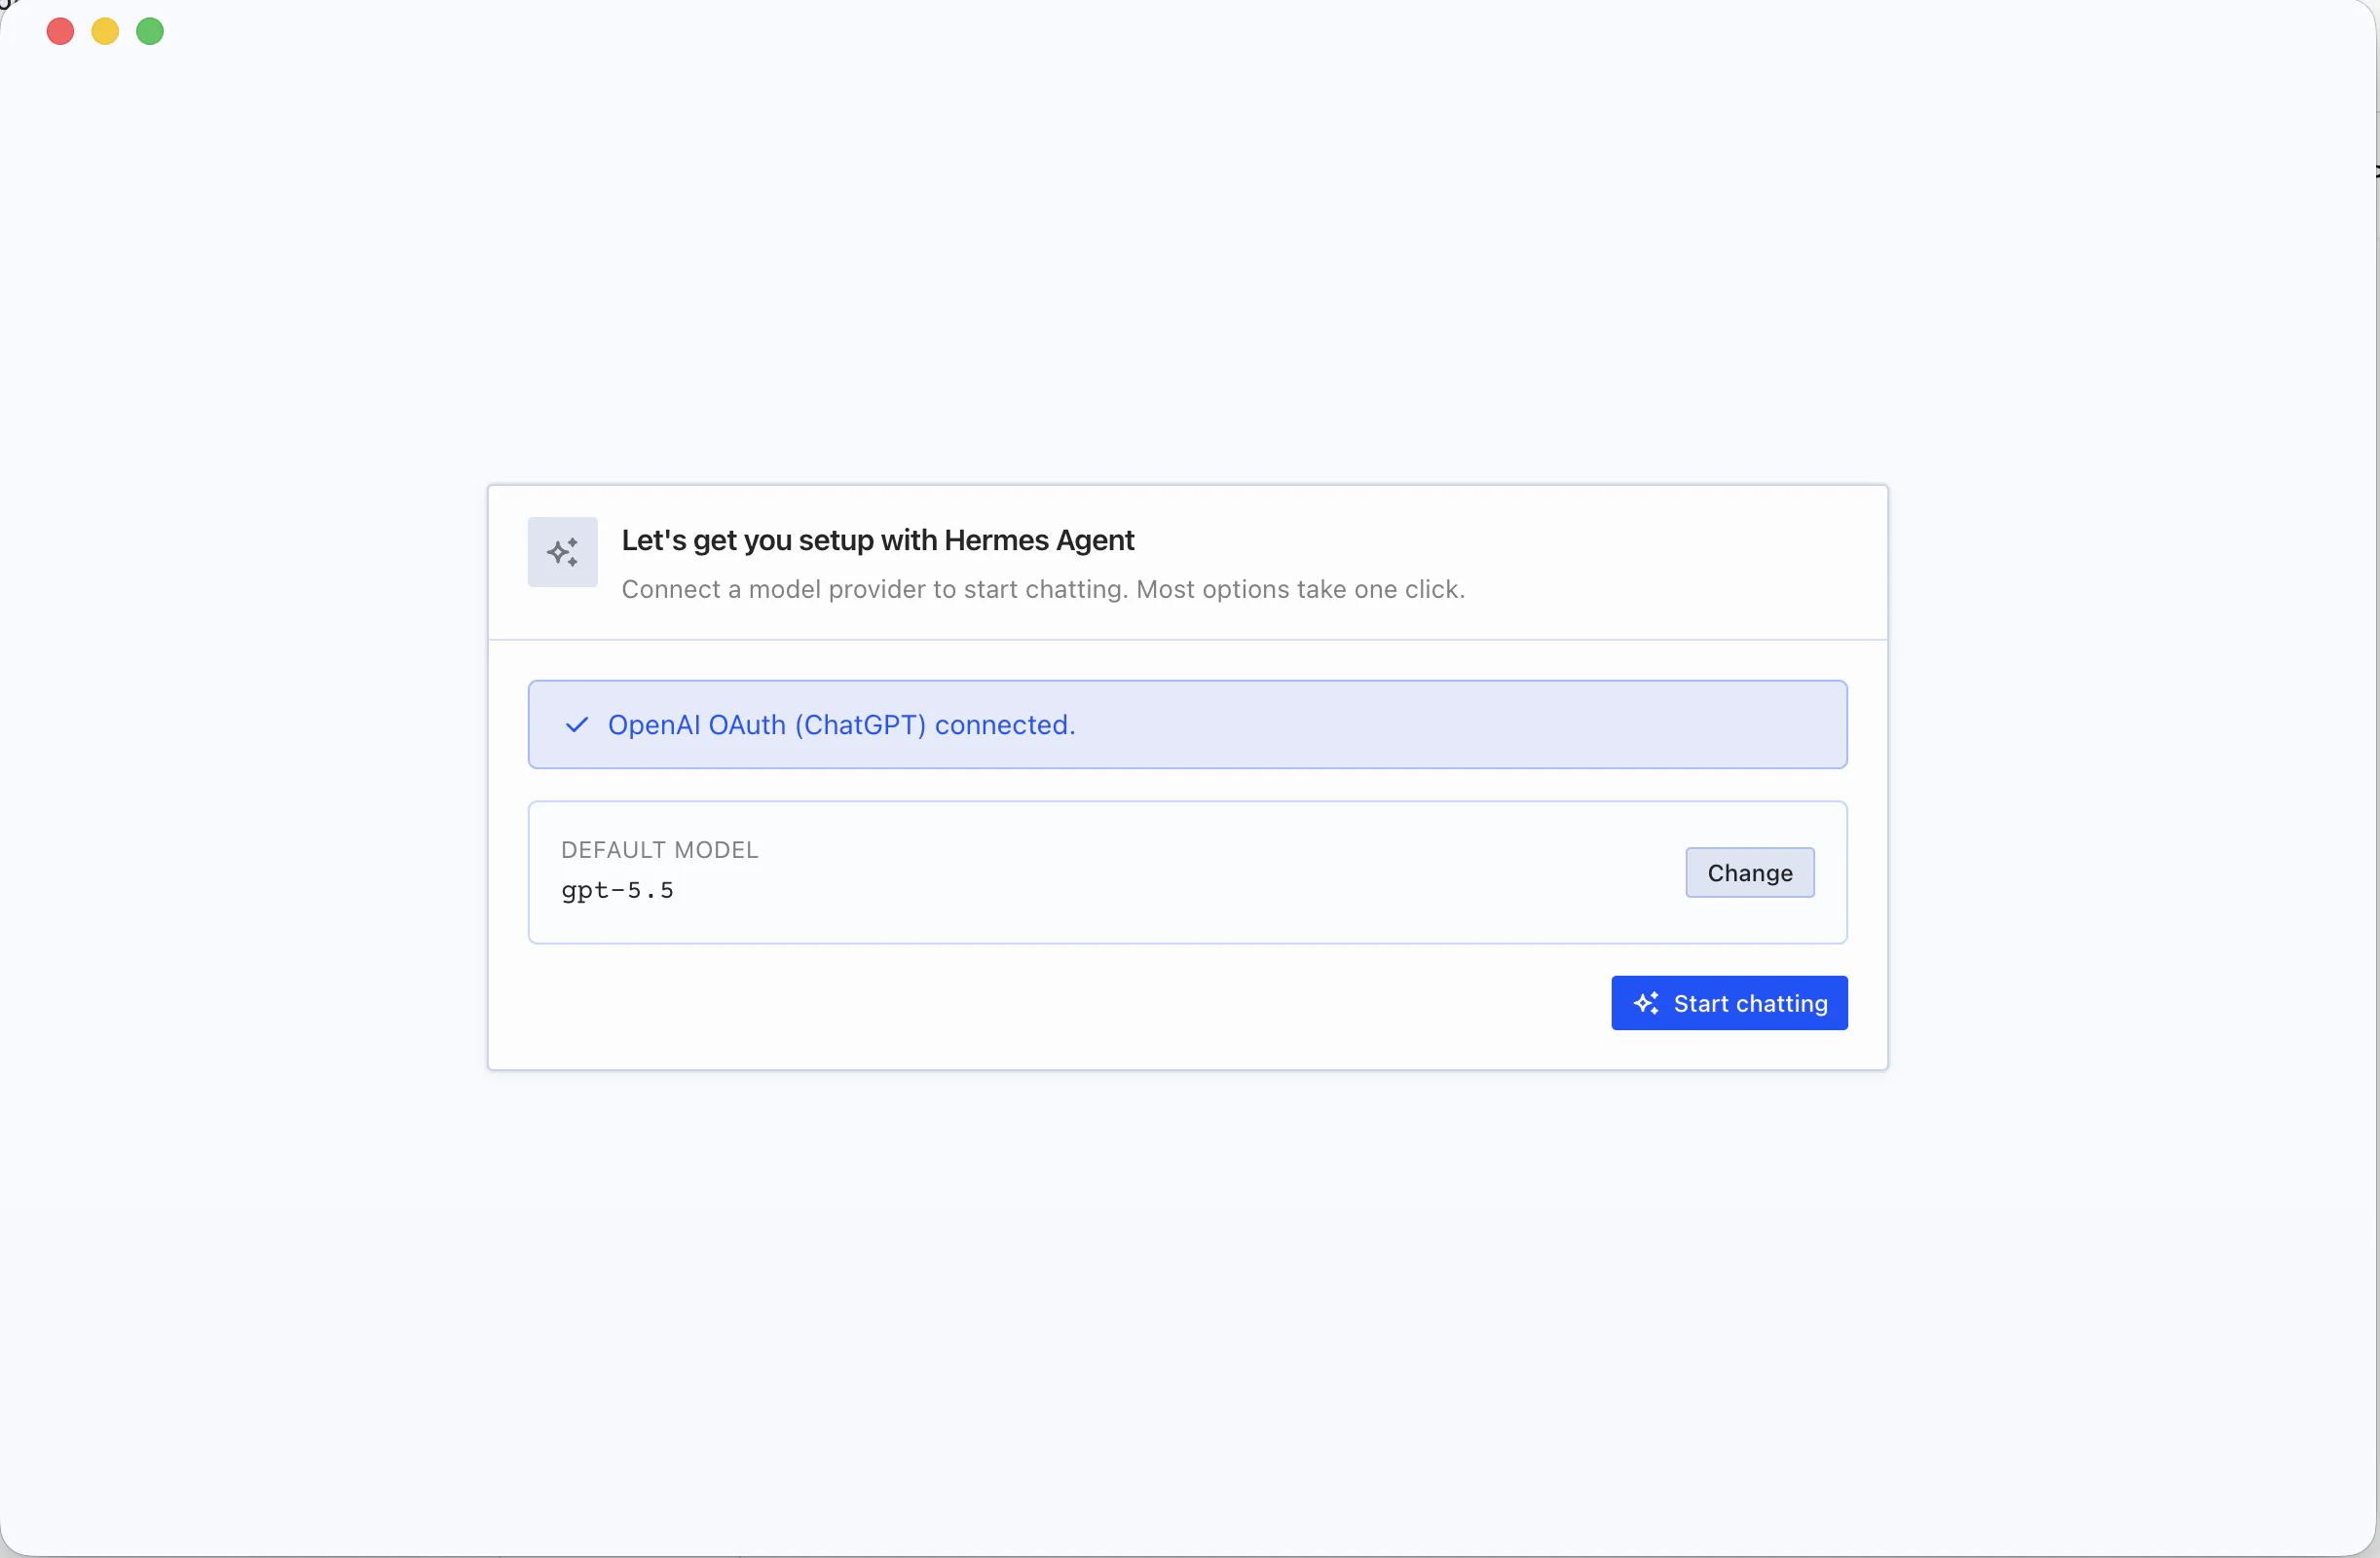
Once it's connected you'll see OpenAI OAuth (ChatGPT) connected ✓ and the default model showing gpt-5.5 — the ChatGPT you were already paying for is now your assistant's brain.
Step 4: Send your first message
After setup you land on the chat screen, with your chosen model shown up top (usually OpenAI's current flagship, e.g. gpt-5.5). The input box is right there and it feels just like using ChatGPT — except this one uses tools, remembers you, and can later run on its own.
Start with something simple to confirm it replies. Then try a small task that makes it actually use a tool, so you can feel the difference from a plain chat box — for example:
- "Check today's weather in Taipei and tell me whether I should bring an umbrella."
- "Turn this into three bullet points: …"
Send it and watch it actually go look something up / do something before answering. The first time you see it act on its own, that's the moment it clicks.
A few commands you'll want later (type / in the box and they pop up):
/help: list the commands/tools: see which tools it currently has/model: swap the brain later
One important tip: get chat solid before adding features
Nous's docs say this plainly, and it's worth repeating:
If basic conversation isn't even working smoothly yet, don't rush to add LINE, scheduling, or voice.
The classic beginner mistake is installing it and immediately wiring up every shiny feature — and then when something breaks, you have no idea where. First confirm you have an assistant that chats reliably and does small things for you. Once that base is solid, adding things on top won't turn into chaos.
Play with it for a few days. Let it look things up, tidy things, remember a few things. Once "having an assistant around" feels normal —
Next: talk to it from your phone
You now have an assistant that talks to you on your computer. The next move is to reach it from your phone — and the easiest way is Telegram. The next post (Part 5) walks you through it: create a bot with one command, grab a key, hand it to Hermes, and you're messaging your assistant from your phone — no public address, no tunnel, because Hermes fetches your messages itself.
This series — AI Agent Life, from Zero:
- Part 1: AI assistant vs ChatGPT
- Part 2: What is an agent framework
- Part 3: The ChatGPT-brain + Hermes-body combo
- Part 4: Install Hermes Desktop and talk to your first assistant (this post)
- Part 5: Connect Hermes to Telegram
- Part 6: Let your assistant run on its own
- Part 7: Give your AI assistant eyes and ears
FAQ
- Do I need to use the terminal to install Hermes Desktop?
- No. The desktop app installs like any normal app — a .dmg on Mac, an .exe on Windows, double-click to install. The first time you open it, it auto-installs everything it needs (Python, Node, Git, ffmpeg) for you. You never touch a terminal and you never hand-edit a config file.
- How do I use my ChatGPT account as Hermes's brain?
- During setup, when it asks you to pick a provider, expand 'Other providers' and choose 'OpenAI OAuth (ChatGPT)' — the 'ChatGPT' in the name is the tell; it means 'sign in with your ChatGPT account'. A browser window opens; log in with ChatGPT and authorize. The credentials are stored locally in ~/.hermes/auth.json, and that becomes your assistant's brain (the default model is OpenAI's current flagship, e.g. gpt-5.5).
- What should I do first after installing?
- Just have a normal conversation and confirm it replies and can use tools. Nous's own advice: don't bolt on LINE, scheduling, or voice before basic chat is working. Get 'an assistant that actually talks to me' running first; add the advanced stuff later.
Read next
- 2026-06-16[Agent 101 #5] Use your AI assistant from your phone: connect Hermes to Telegram
Order your assistant around from your phone. Chat with one official Telegram bot, get a key (token), hand it to Hermes — done. No public URL, no webhook, no tunnel, because Hermes fetches messages from Telegram itself.
- 2026-06-16[Agent 101 #3] The fixed combo we'll use: ChatGPT as the brain, Hermes as the body
An AI assistant = a brain + a body. Use your ChatGPT account as the brain and Hermes as the body — one fixed combo, nothing to choose. Here's why it's set up this way, and what to have ready before you install.
- 2026-06-20[Agent 101 #10] Installed it, now what? Give your assistant hands — connect your own tools
Your assistant is installed, but right now it only talks — it's all mouth. This post gives it hands: connect tools so it actually checks your folders, runs your commands, calls services you wrote yourself. The key idea is MCP, the 'universal outlet' standard for tools — plug one in and the assistant can use it. All running on your side, connected to your own stuff.
- 2026-06-16[Agent 101 #6] Let your assistant run on its own: daily research that pings your Telegram
The last and most satisfying step: set up a task that runs itself. Tell it in plain words, and every day it researches what you care about, sums it up, and messages your Telegram. Set it once, close the laptop, and it pings you the next morning.
Don't miss the next one
Subscribe, and you won't.
One-click unsubscribe anytime.